Week Three
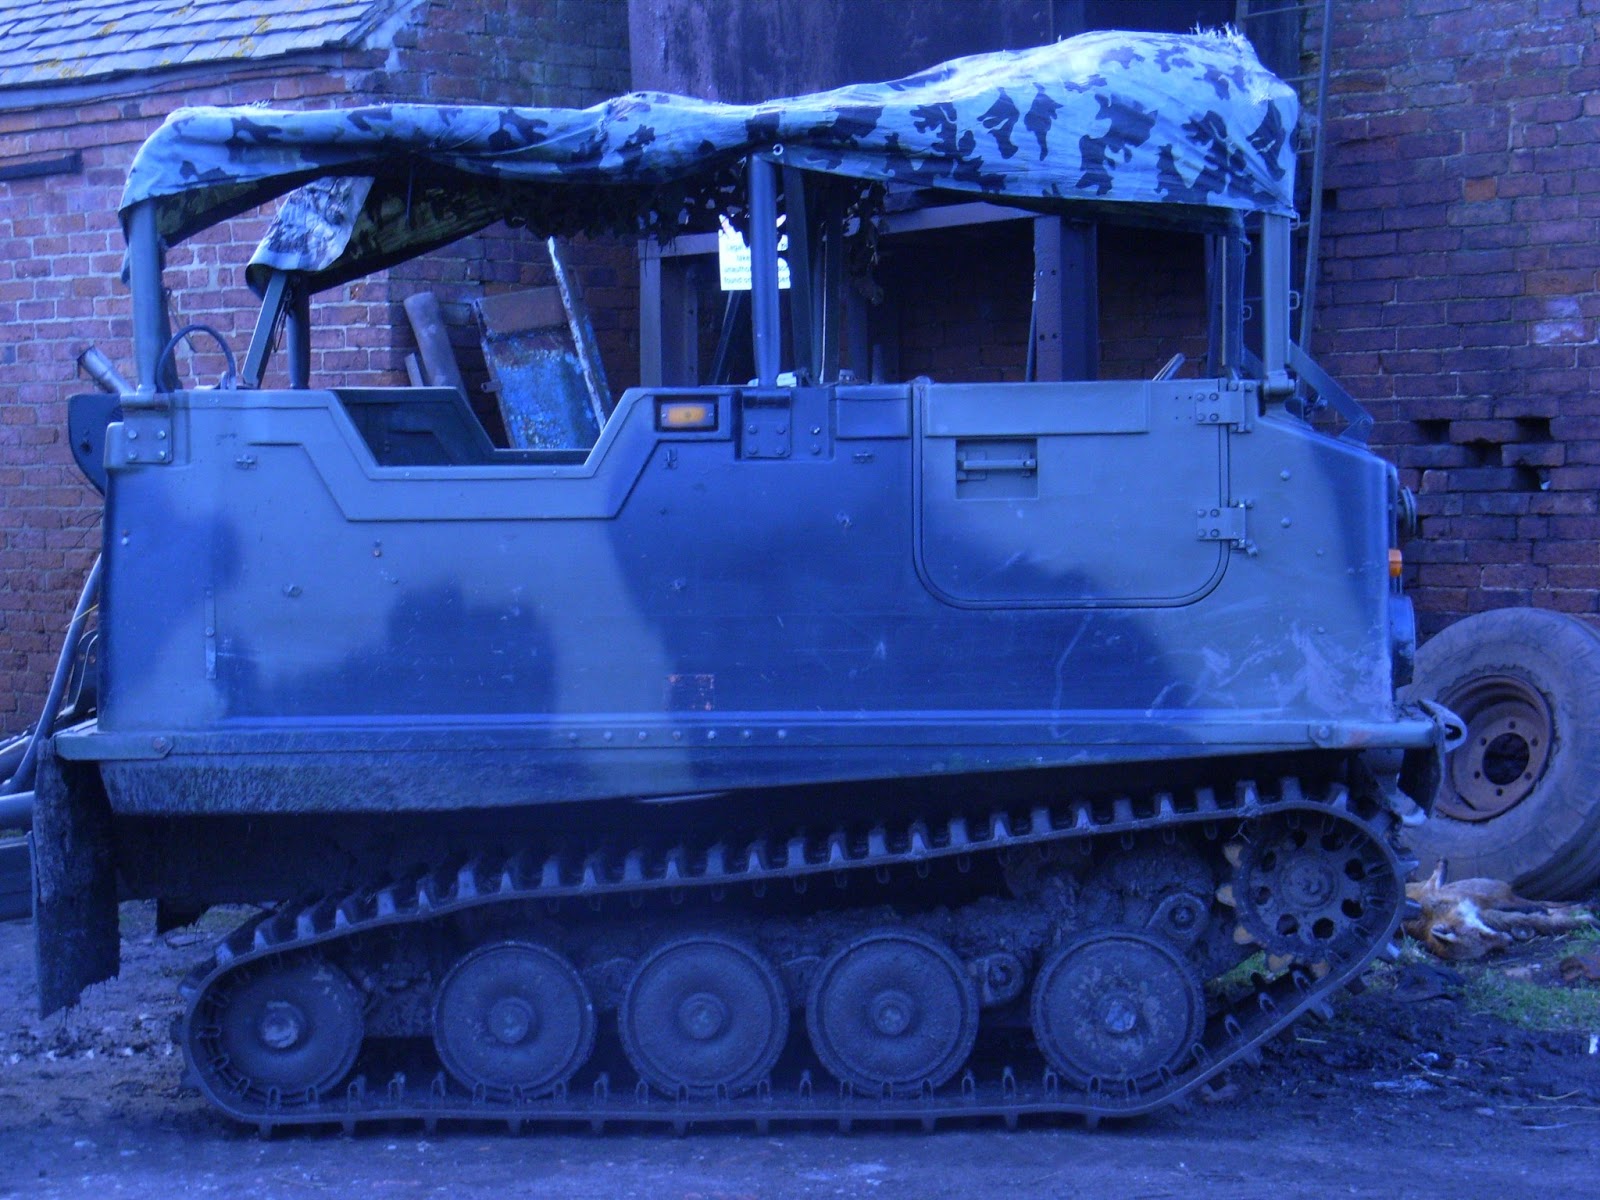
On week three we had to present all the images we have gather for marking and also to have made up our mind on what we will be modelling and of course to have started modelling. After going trough my images I decided to model the Bv206 Hagglund, which you can see below:
After sorting out which images I could use I started modelling, but I had a bit of a problem. I couldn't photograph the inside, so I asked my lecturer if I could use any images from my colleagues and he approved as long as it was from people who weren't doing the same thing. Afterwards I imported into Maya a side, front and back images of the Hagglund and I started modelling from them.
I decided to do my low poly mesh and when I was finished with it, I am planing to make some high poly modelling for the details, just bake them out and put them on to my low poly object.
On the images above you can see a basic block- out I did of the main body and on the second image with geometry. I did this by creating a cube and using the eage loop tool and extrude I created what you see on the image from the cube. After blocking out the body, I turned my attention the the tracks and the wheels.
On the images above you can see the a basic block out the track. I created it by creating an rectangle, selecting on one face and using the extrude tool I extruded following my reference until I got the final result. After that I decided to model the details of the tracks, as you can see, but I encountered a problem with my polygon limit. If I was to model the hole track with the details on it and duplicate it for the second one, the my polygons went sky high, so I discarded that idea. However, the wheels were pretty simple, I created a cylinder on which I deleted the triangle faces and using the Interactive split tool I connected the vertex's to create 4- sided faces. After that I modeled how the wheels were connected to the tracks and also to the main body. It was very difficult, because between the wheels there was a lot of mud and I couldn't see very good behind them, but in the end I managed.
Below is the image of what I had at the end of the third week in which I modeled the tracks and the body as a basic block out.


No comments:
Post a Comment